How It's Made
July 24th, 2020
15 - 20 minute read
This project came about because I was interested in learning state machines. I thought about more practical uses, like buttons and forms, but had this idea of a "Finite State Microwave" - a play on the last word in the acronym FSM, which normally stands for Finite State Machine.
Completing this has taken me several hours each week for the last few months! It was certianly humorous to see the reaction of some family members when I told them I needed to go "work on my microwave". Keep reading to learn about how I implemented the machine logic and visual design. Hopefully you'll feel excited to use some of these things in your own projects!
I decided to use Svelte and Tailwind since I'm comfortable with both. If you're unfamiliar with either of these, the good news is that they're both really easy to understand - their simplicity makes them great for tutorials and the like! While I'll focus on the machine, I hope you'll enjoy the other tidbits.
Before I just started coding away, I got out a notebook and pen and then wrote some notes about how a microwave works. I noted things like:
- pressing "+30" adds thirty seconds
- the display shows the time when not in use
- it beeps at 1-minute intervals once the food is heated
- the digits entered are converted to a proper time interval when the "start" button is pressed (like "101" converts to 1 minute and 1 second, but so does entering "61")

There are actually quite a few of these rules, and I started to notice some patterns. You may have heard about state machines before, but let's have a refresher.
What are State Machines?
A simple explanation might be the "statuses" (aka. states) of a particular thing
(the machine). If a machine has finite states, it has a limited
number of these states and can be modeled! There are different events that transition the
machine to different states. If there is related data (also called context) such as a counter
keeping track of how many times it is clicked, this actually becomes a statechart, but let's
not delve too deep just yet. To better model the behavior of the thing you're building, some
events might only be possible during specific states.
Example: A button can be disabled, pressed, or just
idle and waiting to be clicked! The click event should be possible when
in the idle state, but not when it is disabled. There are likely other states than these,
but I hope it's a simple example.
State machines are completely independent of your frontend technology and can be used with anything like Vue, React, Ember, or even Svelte as seen in this post. The decoupling between business logic and UI is really powerful.
Statecharts are a visual formalism and can consequently be described in code as well as using diagrams. With some effort, one format can be translated into the other. That's how NASA developed the Curiosity rover (by drawing diagrams and translating them to code) and it's how we'll develop a microwave!
I actually did not build any frontend for the microwave until the functionality was about 90% complete! Weird, I know! This is different than the traditional, more imperative programming style where we integrate the logic in with the markup and components. I used a package called XState to create the machine. The visualizer that XState provides lets us see what the current state is, what events we can trigger, and other helpful things so we can build machines.
Here's an example of a stop light, albeit quickened so you don't have to wait at that red light! You'll see in the definition that we are transitioning after a specified time.
After reading more about state machines, I organized my notes into what states the microwave can be in and then noted what events can happen in each of those states. Here's one of the states I came up with:
- pressing a digit appends that to the end of the display
- pressing "start" begins the countdown, but only if there are digits
- pressing "stop" when there are digits clears the display
- pressing "+30 seconds" increments the digits by 30
Different microwave makes and models may have a different machine structure, but I decided to model the one in my kitchen. The 4 points above actually cover all of the logic for the idle state! Can it really be that simple?
The next step was to turn my lists (including the idle state) into code. XState uses a declarative object API, meaning it isn't defined using procedural code that reads top to bottom. You can define the states and actions in one area, and define the event logic in a completely separate area. Take a look at this and see if it makes sense to you - read the comments for further clarification:
{
    // what we call it
    id: 'microwave',

    // initial state of the machine
    initial: 'idle',

    // data that we can manipulate or display
    context: {
      digits: '',
      timer: 0,
    },

    states: {
      // the "idle" state
      idle: {
        // some functions to run when I enter this state
        entry: ['resetDigits', 'resetTimer'],

        on: {
          PRESS_DIGIT: {
            actions: ['appendDigit'],
          },

          START: {
            cond: 'hasDigits',
            // run the "setTimer" function which converts
            // the digits (string) into the timer (number)
            actions: ['setTimer'],
            // then switch into the "heating" state!
            target: 'heating',
          },

          STOP: {
            actions: ['beep'],
            // reenters this "idle" state, firing entry actions
            target: 'idle',
          },

          ADD_THIRTY_SECS: {
            actions: ['add30SecondsToDigits'],
          },
        },
      },

      // ... more states and events
    },
  }
As you might have noticed, the notes on how the machine works were almost 1:1 converted into the object API. Read the XState docs to learn more of how that part works.
I started with a few colored blocks on a grid to get started quickly. Don't focus on the details when prototyping - the colors don't matter and the dimensions really don't either. That can all be smoothed out later.
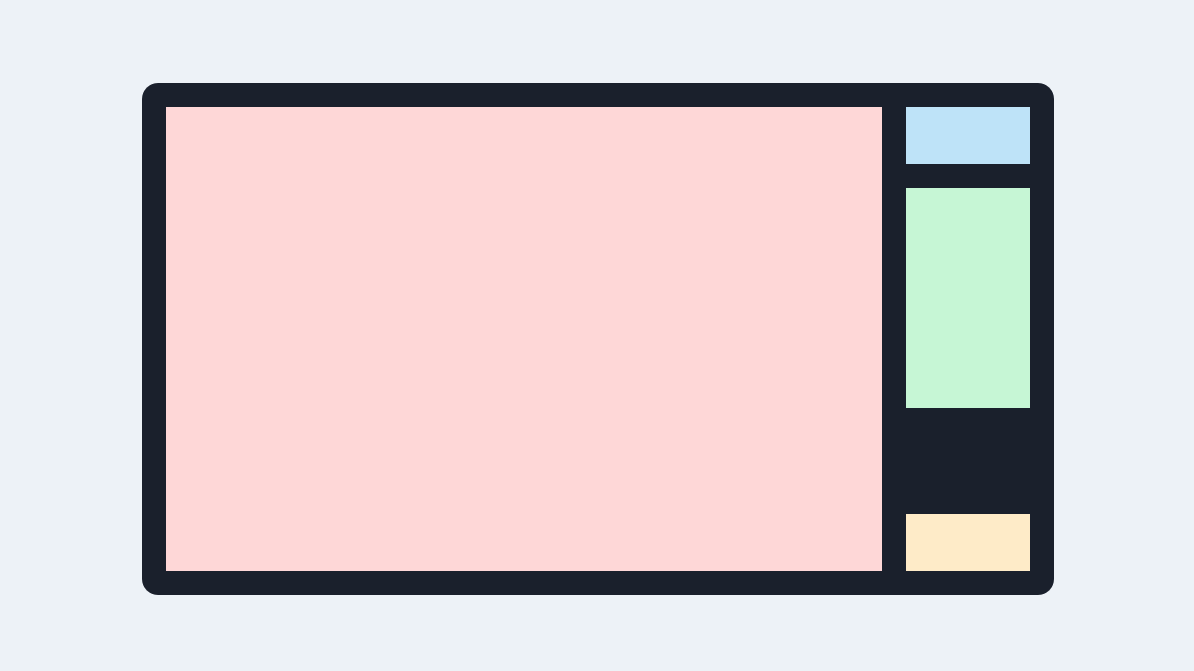
One strategy I use in my components is to hide the styling inside of wrapper components. This is easier to understand and frankly improves visual appeal. If you've ever sewed, think of this strategy like the common blind stitch. If you don't sew, look on the inside of your clothes to see the stitching that is hidden from outside viewers' eyes.
Here's my page code:
<Background>
  <Microwave>
    <Door />
    <Display />
    <Panel />
    <OpenButton />
  </Microwave>
</Background>
And here's the Microwave component so you can see how the blind stitching kept the page code clean:
<div id="microwave" class="bg-gray-900 rounded-lg absolute right-1/6 lg:static mt-8 md:mt-16 lg:mr-8 w-240 h-128 p-4 grid grid-cols-5 grid-rows-6 gap-4">
  <slot />
</div>
But wait, how does the machine hook into the frontend? Good question. There's a package called xstate-svelte which wraps the machine behind a store. If that's not familiar to you, don't worry. It's just a way we're going to get live/reactive updates. After setting up our machine and connecting the events to the components, this is what the code looks like now:
<script>
// ... import components
import machine from '../machine';
import { useMachine } from 'xstate-svelte';
import time from '../stores/time';
import { formatDigits, formatTimer } from '../helpers';
// here's where we get our machine store!
let { state, send } = useMachine(machine);
function getDisplay(state, { digits, timer }) {
if (state === 'idle') {
if (digits === '') return $time;
return formatDigits(digits);
} else if (state === 'finished') {
return 'DONE';
} /* heating or paused */ else {
return formatTimer(timer);
}
}
$: display = getDisplay($state.value, $state.context);
</script>
<Background>
<Microwave>
<Door heating={$state.matches('heating')} />
<Display value={display} />
<Panel
on:digit={event => send(`PRESS_${event.detail}`)}
on:start={event => send('START')}
on:addThirty={() => send('ADD_THIRTY_SECS')}
on:stop={() => send('STOP')}
/>
<OpenButton on:press={() => send('DOOR_OPEN')} />
</Microwave>
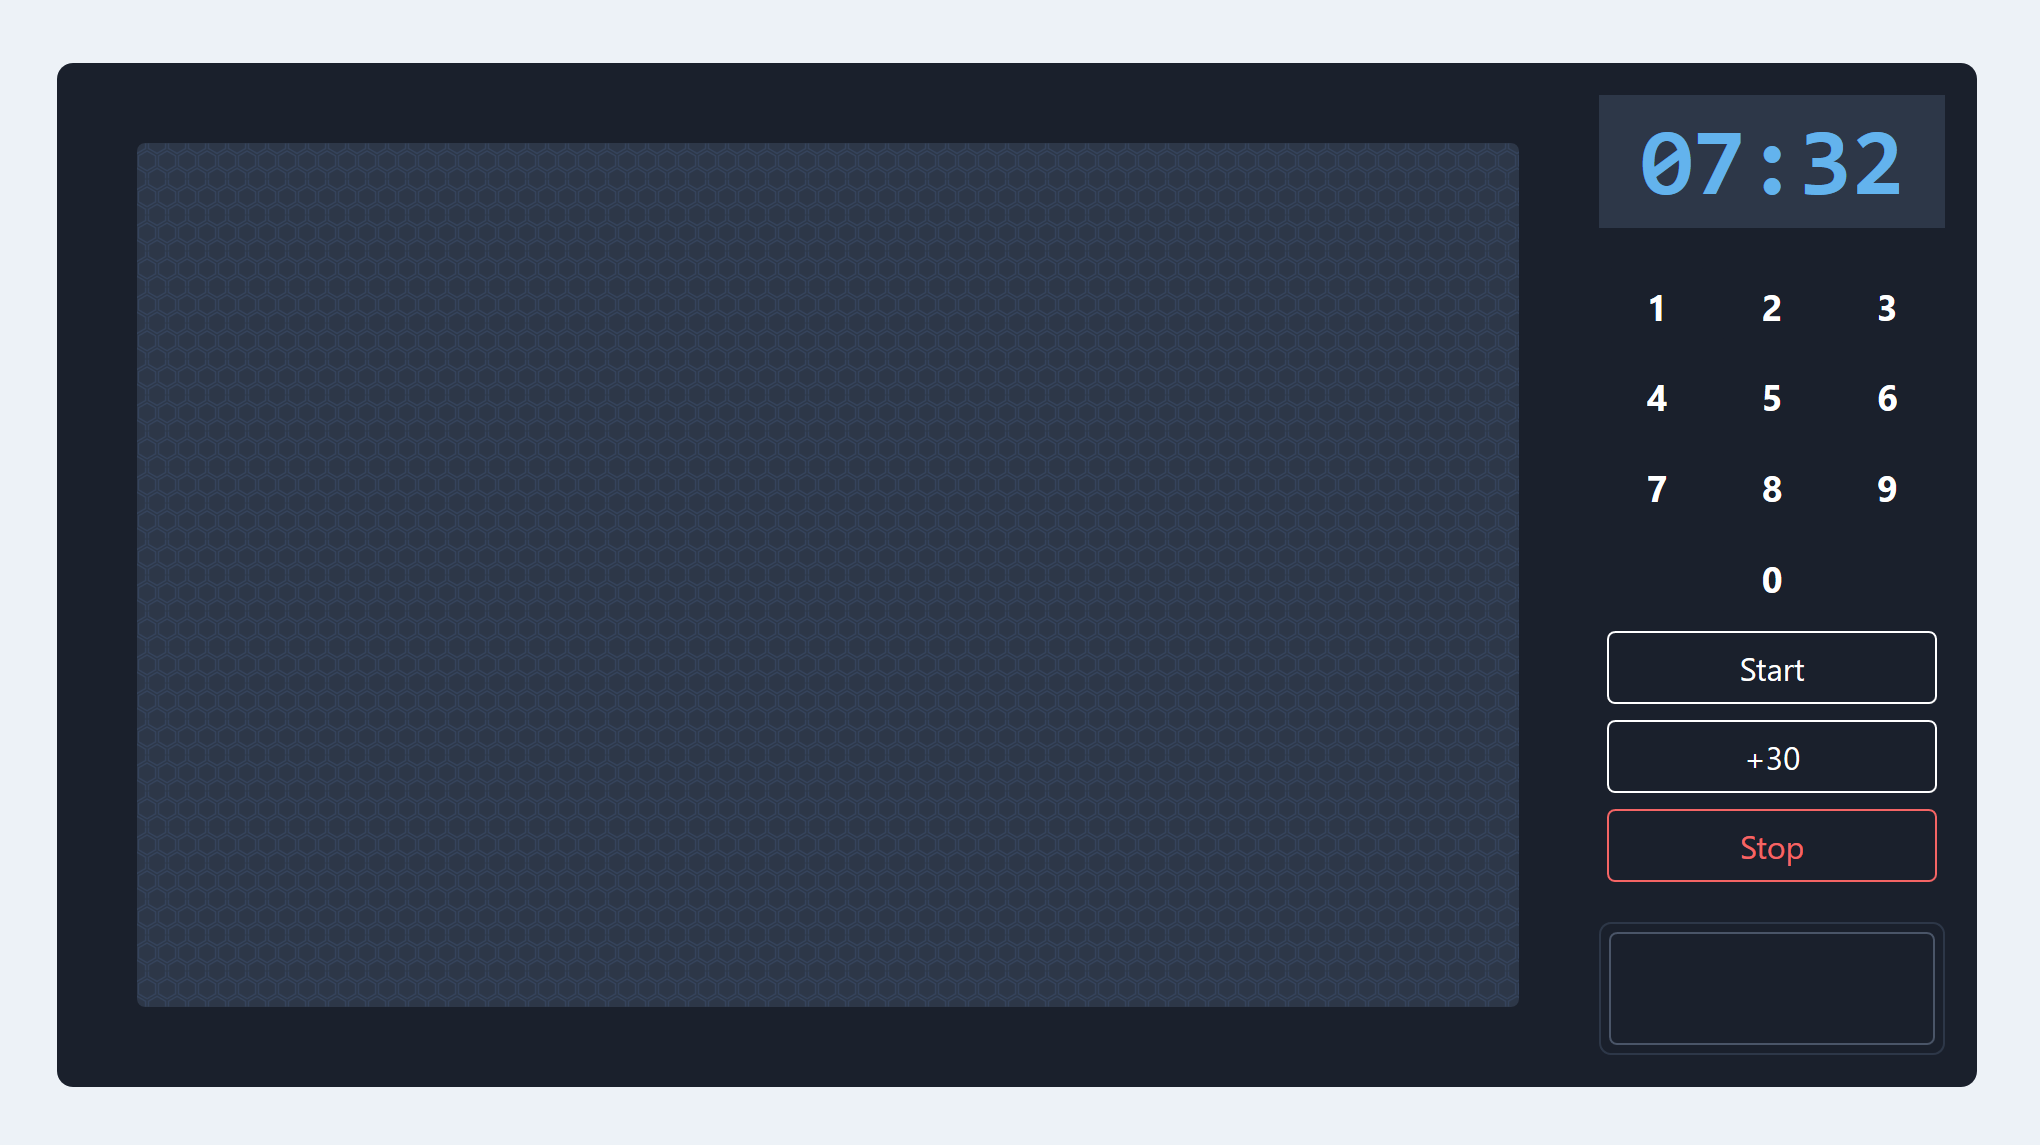
</Background>After connecting it all together, I had a working microwave. Well, sort of working - it doesn't heat my food.. 🤣
There were a few smaller updates I made to the machine logic. I talked with others to get feedback and learn about other ways to add to the machine. Special thanks to my friends Daylon (@DaylonCrider), Mikey (@CodingDive), and Joe (@jsjoeio)!
- I originally had the PRESS_DIGIT event, which I passed the digit value with, but that got changed to restrict the API more. There really only are 10 possible digits (0 through 9), so I wrote out PRESS_1, PRESS_2, and so on.
- Currently, there is a leak of the TICK event (meaning it's not private to the machine and I can technically fire that event from outside, like a microwave button which doesn't make sense), but using alternatives like child-machines could greatly complicate the existing machine. I still learned a great deal about that, but ultimately decided to leave it how it is so that things don't get too hard to understand. This was my first machine, after all.
- I showcased this project to my older brother and discovered that pressing +30 should go to heating state if there were no digits entered already. I quickly added a conditional guard to fire different actions if there were no digits yet.
If you're interested in seeing all of the code, you can find the repo here. Please star it or share it if you like it! Here's the full visualizer to play around with as well!
I strongly encourage you to think of a fun machine to build and then just do it! Find something that's fun and not too complex. It doesn't really matter if you think someone has already done it before..
There are also still some extra enhancements to add to the overall UX of the Finite State Microwave. Check out the GitHub issues and see if you'd like to help out!
Let me know how this went for you! If you ran into any issues or you're curious about how it works, just connect with me on Twitter @parker_codes. If you aren't on Twitter or you just prefer a more personal touch, send me an email - parker.mcmullin01@gmail.com.